Using Templates
Templates enable you to save the fields in the project to a file and easily restore those fields later in a new project. Templates can be created at the project and field level. An active project can have multiple templates applied to it.
You can also configure ReadySuite to use an existing project template by default for any new session or project, similar to always having the same set of fields available in ReadySuite outside of the system level fields.
To create a template
- In the ReadySuite ribbon, click Home > Field Setup.
- In the Field Setup dialog box, add the fields you want included in the template.
- If you open the Field Setup dialog box with a document displayed on the Document Grid View, that document's field appear in the Field Setup
- In the Field Setup title bar, click the Templates drop list and select Save Template.
- In the Save As dialog box, browse to where you want profiles saved, enter a File name for the profile, and click Save.
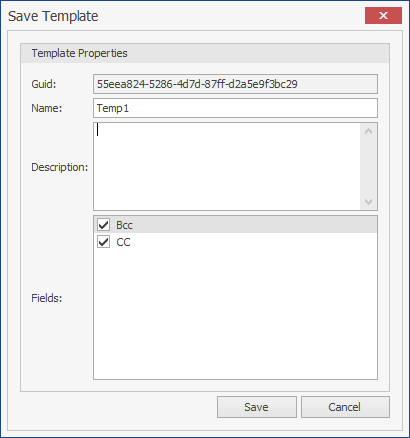
- On the Save Template dialog box, view the Template Properties.
- Enter a Description of the template.
- Choose the Fields to be included in the template.
- Click Save.
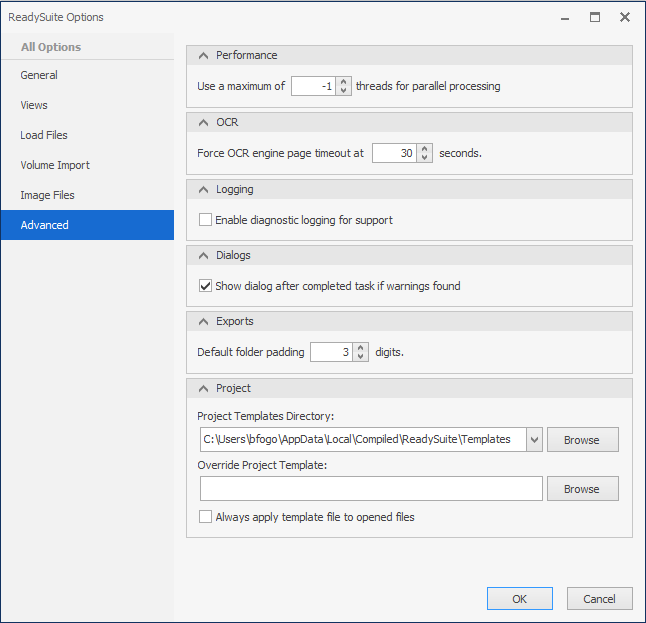
Note: The default location of the Projects Templates Directory can be configured with the ReadySuite Options dialog box on the Advanced tab in the Project section.
To use a template
- In the ReadySuite ribbon, click Home > Field Setup.
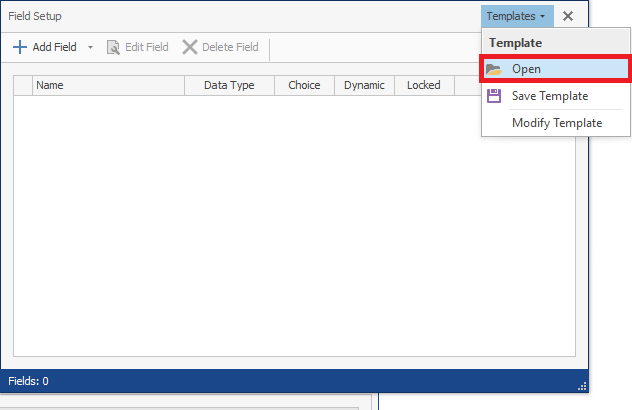
- In the Field Setup title bar, click the Templates drop list and select Open.
- Browse to your profile folder and select the profile you want used in the wizard, then click Open.
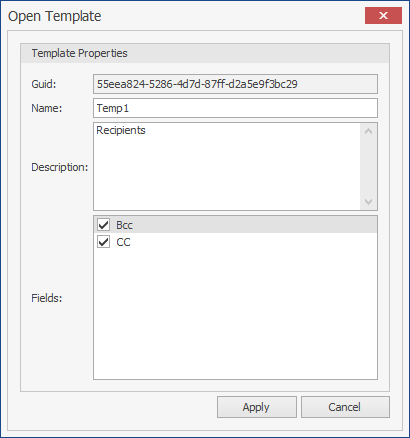
- On the Open Templates dialog box, view the template's default settings.
- Click Apply.
Note: You can also select from the list of Recent Templates.
To modify a template
- In the ReadySuite ribbon, click Home > Field Setup.
- In the Field Setup title bar, click the Templates drop list and select Modify Template.
- On the Open dialog box, browse to the template you want to modify and click Open.
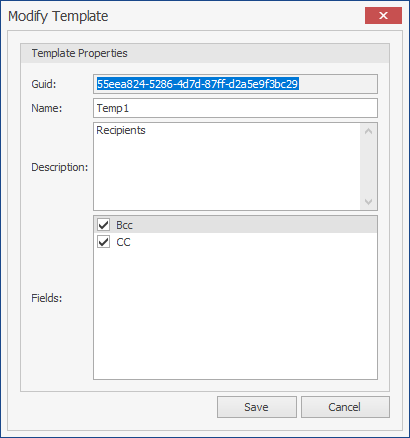
- On the Modify Template dialog box, update the Name, Description, and selected Fields as necessary.
- Click Save.
To apply a default project template for any new session or project in ReadySuite
- In the ReadySuite ribbon, click File > Options.
- On the ReadySuite Options dialog box, click the Advanced tab.
- In the Project section, enter or click Browse to select the template you want applied as this Override Project Template.
- Select Always apply template to opened files.
- Close and restart ReadySuite to apply the updated project settings.
