OCR
Use the OCR Documents wizard to create text files for documents without them.
To generate text for documents without text
- Filter or select the documents you want to work with as necessary.
- In the ReadySuite ribbon, click Process > OCR Images > Create Text Files to open the OCR Documents wizard.
- On the OCR Output page, select how you want the text files to be generated and stored.
- Skip Pages: Select to ignore documents from OCR if a text file already exists. (See the HasText* field for documents to be skipped.)
- Output Format: Select to create one text file per document. Clear if you want each page to have its own text file.
- Save Location: Select to save text files in-place with image files or a separate output folder.
- Control List: Select to create a control list file for the documents processed.
- Click Next.
- On the OCR Options page, specify the cleanup and processing options for the generation of the OCR.
- Click Start.
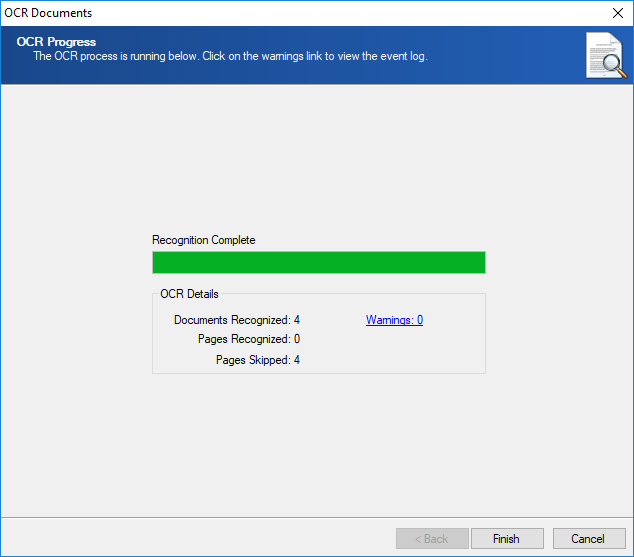
- On the OCR Progress page, click Finish.

If you selected Save Location not in-place, specify the destination directory and the folder and file name structures.


After OCR is complete, in the ReadySuite ribbon, click View > Pages View to preview the OCR in the Document Pages panel.
To generate searchable PDFs for documents
- Filter or select the documents you want to work with as necessary.
- In the ReadySuite ribbon, click Process > OCR Images > Create PDF Files to open the Create Searchable PDFs wizard.
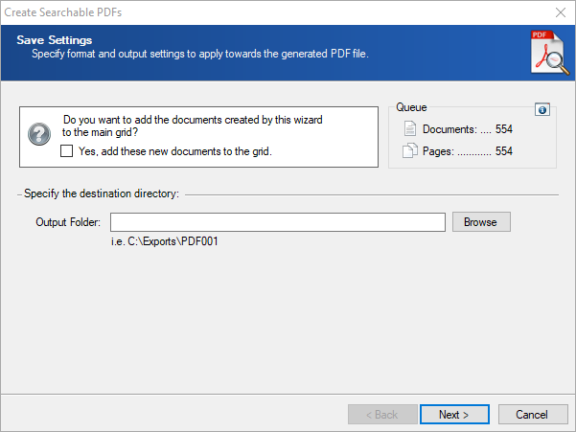
- On the Save Settings page, specify the destination directory in the Output Folder.
- Click Next.
- On the Recognition Options page, specify the recognition engine, language, and pre-processing options.
- Click Start.
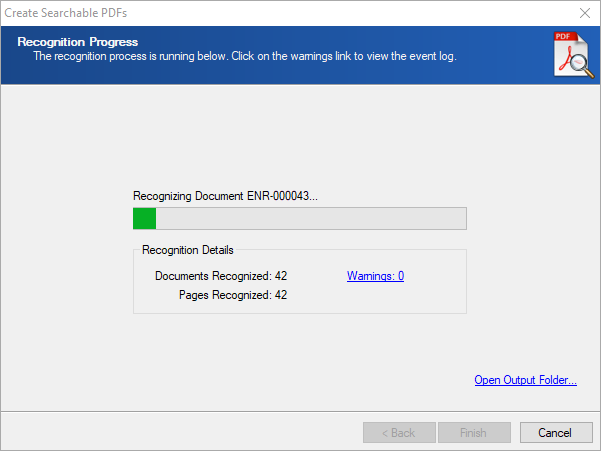
- On the Recognition Progress page, click Finish.


