Import Fields
The Import Fields page enables you to select and change the names of the fields imported in the load file. It appears on ReadySuite wizards for load files that include metadata fields.
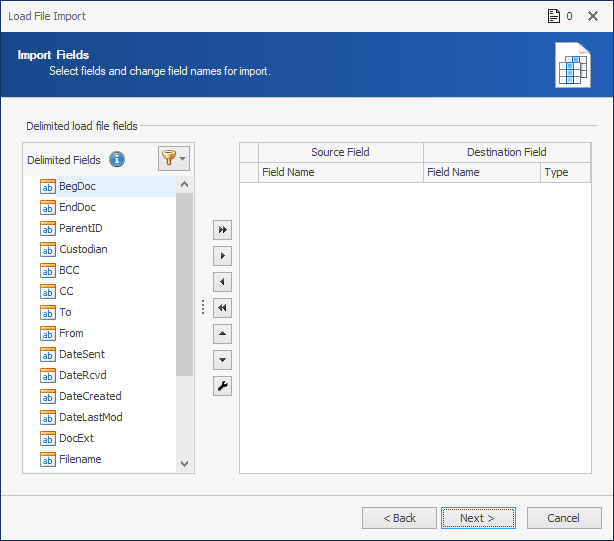
To complete the Import Fields page
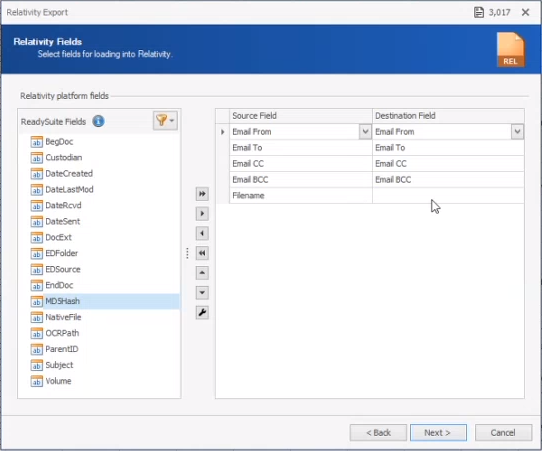
- On the Import Fields page, use the arrows to select from the Delimited Fields list the fields you want to import from the load file. The Source Field is the load file. The Destination Field is the field that is populated in ReadySuite. (For more information, see Layout).
- Rename the Destination Field Field Name and select the Type as necessary.
- Click Next.
Note: Click the Filter icon  to select from a limited set of fields, such as a saved search.
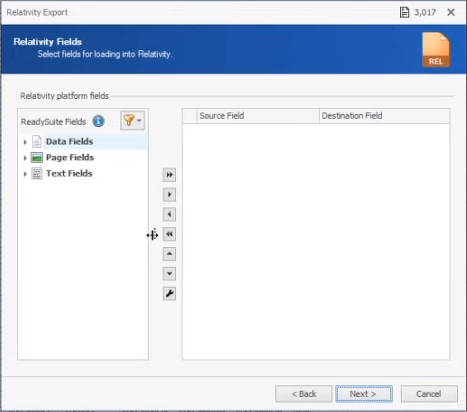
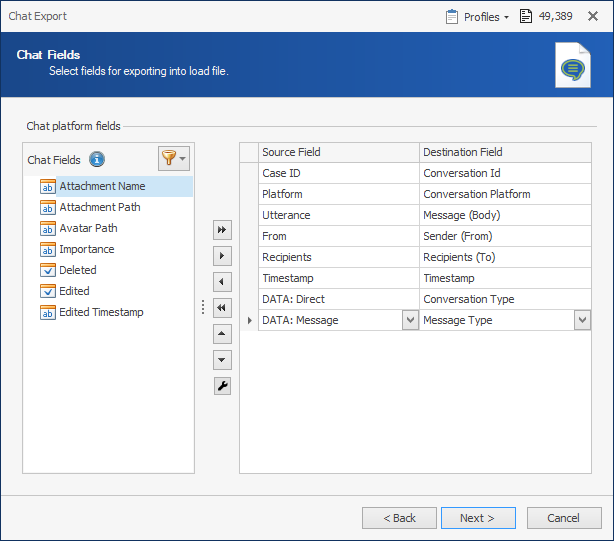
Export Wizards
The Relativity Fields page on the Relativity Export wizard has similar functionality...
... as does the Chat Fields page on the Chat Export wizard.
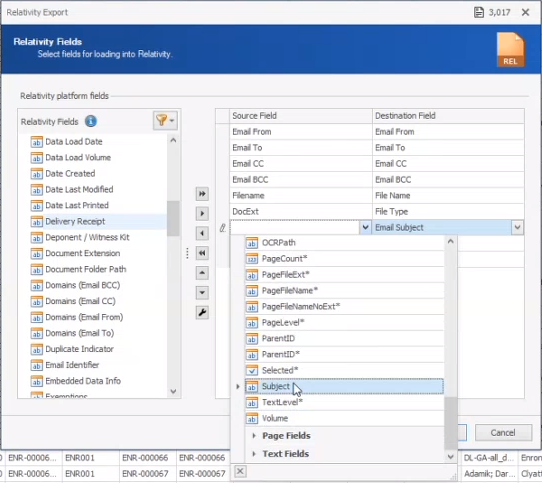
Layout
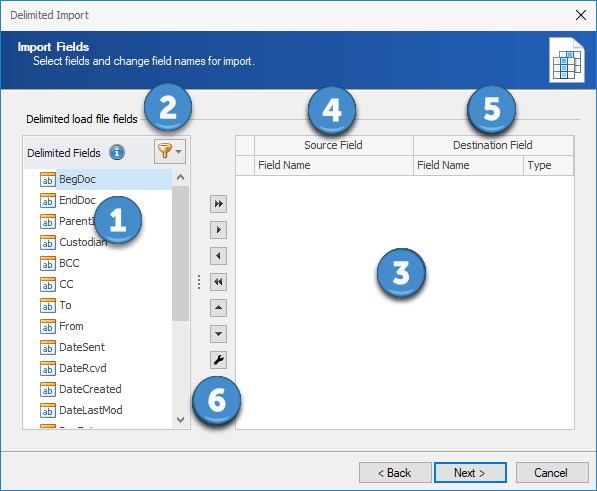
- Field Tree: View the fields available to move to the Output Grid.
- Filter: Select to modify the list of fields in the Field Tree from a limited set of fields, such as a saved search, as well as selecting the sorting order.
- Field Map: View the fields selected as Source Fields and Destination Fields, as well as edit the Field Name and Type.
- Source Field: Fields selected from the load file (import) or data sources (export).
- Destination Field: Fields from the Source Field as it will appear in the destination after import or export, as well as the type of field.
- Action buttons


To select fields from the Field Tree
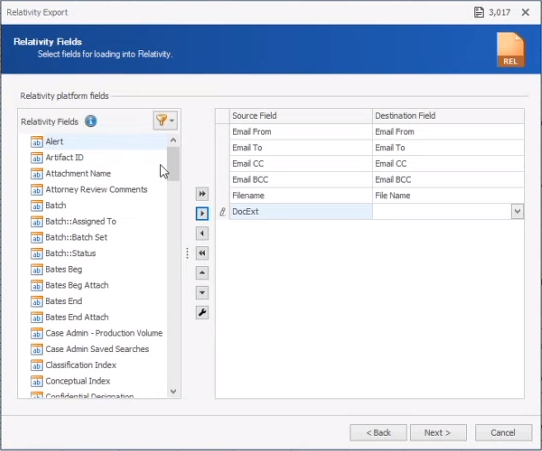
- On the Import Fields page, use the Action buttons to select from the Field Tree list the fields you want to include in the Output Grid.
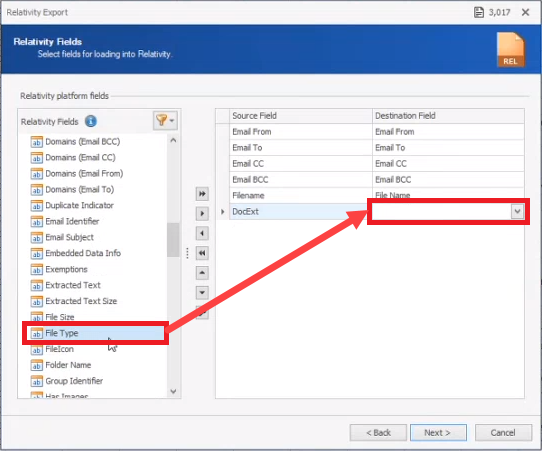
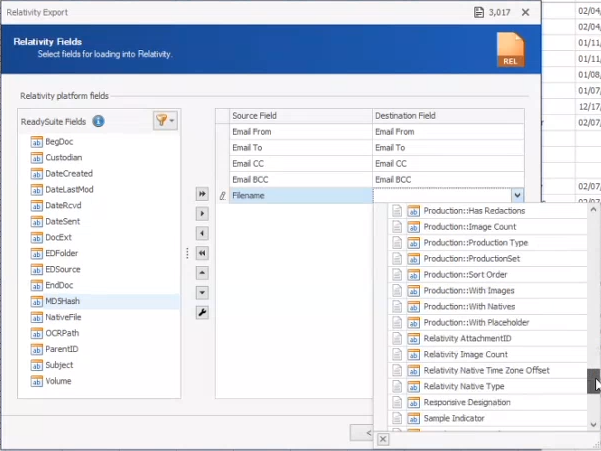
- If there is a match between the field names in Source Field and the Destination Field, the contents in the Source Field and Destination field will automatically match.
- If a Source Field or Destination Field does not automatically populate, click the field use the drop list to select the field you want to use.
Note: You can drag Relativity platform fields from the Relativity Fields list to an empty Destination Field.
Note: Type the first letter of a Field to move to entries beginning with that letter.
- Click the Filter icon to select from a limited set of fields, such as:
- Custom Fields (all fields from the original load file)
- System Fields (fields marked with an asterisk)
- Field Sets (previously saved Output Table field sets)
- Relativity Import and Relativity Export only: To view the Relativity Fields, click the Filter icon and select Relativity Fields > Platform Fields.
You can also select Relativity Fields and use the right arrow to create Destination Fields, then select the matching Source Field in ReadySuite.
To sort the Field Tree
- Click the Filter icon and in the Sorting section, choose from the following:
- Sort Ascending: Arrange fields in alphabetic (A to Z) and numeric order (lowest to highest).
- Sort Descending: Arrange fields in reverse alphabetic (Z to A) and reverse numeric order (highest to lowest).
- Sort Original: Arrange fields in their original order (available if the list was sorted in either ascending or descending order).
To save the selected Source Field and Destination Field lists as a Field List
- Select the fields from the Field Tree you want included in the Field List.
- Click the More Field Options icon
 and select Save Field List.
 - On the Save Field List dialog box, select the location and File name for the Field List and click Save.
To load a Field List
- Click the More Field Options icon and select Load Field List.
- On the Open dialog box, select the location and File name for the Field List and click Open.
To use a field multiple times
- Click the More Field Options icon and select Hide used fields.
To edit a Destination Field
- Do one of the following:
- Click the down arrow of the Destination Field, Field Name, or Type field and select the field from the drop list.
- Click the Destination Field, Field Name, or Type field and edit the contents of the field.