Exporting Documents
The Export Documents wizard enables you to export images, native files, and/or text files.
To export documents
- In the Document Grid View, filter or mark the documents you want to export as necessary.
- In the ReadySuite ribbon, click Process > Export Documents to open the Export Documents wizard.
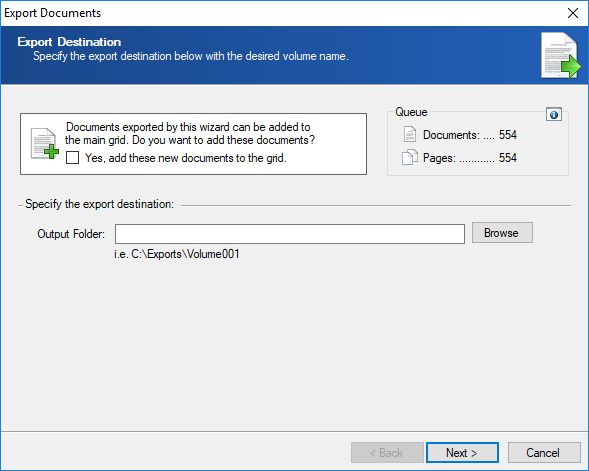
- On the Export Destination page, do one of the following:
- Enter the location of the Output Folder.
- Click Browse and navigate to the output folder.
- Click Next.
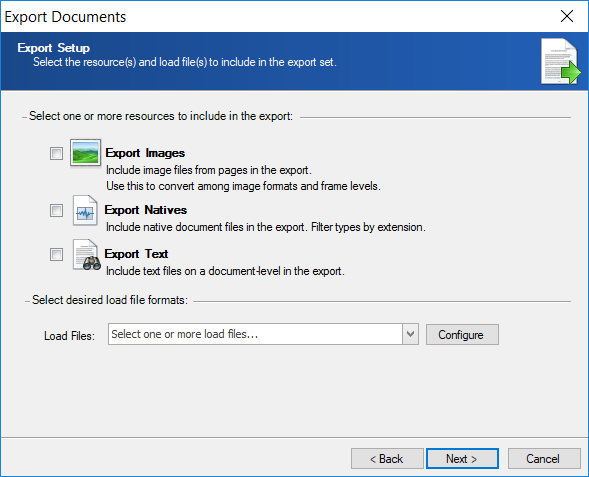
- On the Export Setup page, choose the types of files to export as well as the type of Load Files to create.
- Select the desired format of the Load Files. (Click Configure to setup load files as necessary).
- Click Next.
- Do the following depending on the type of file you are exporting:
- If exporting images, on the Export Image Files page, specify the settings for exporting image and page files.
- If exporting native files, on the Export Native Files page, specify the settings for exporting native files.
- To export all native files, select
Do Not Filter. - To include or exclude certain file types, change the filter level to
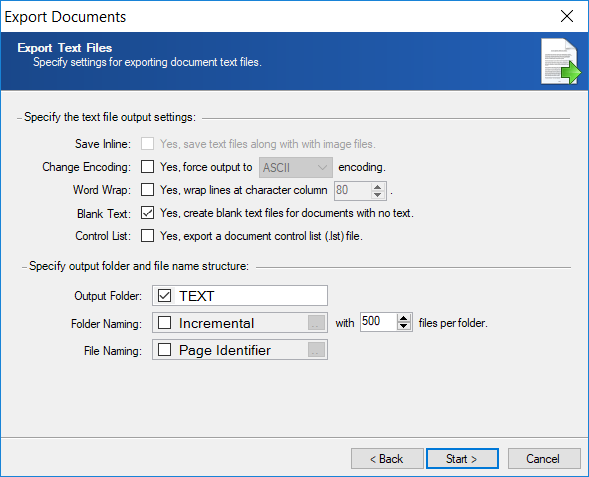
IncludeorExclude, and then in the Extensions drop-down list, select the extensions. The list of extensions is populated based on the document set. - If exporting text files, on the Export Text Files page, specify the settings for exporting document text files.
- Click Start.
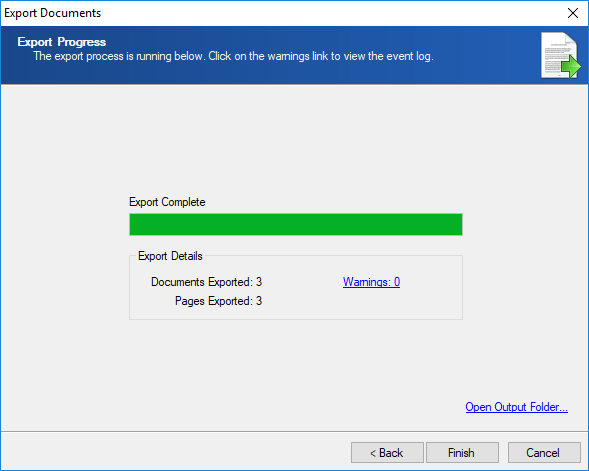
- On the Export Progress page, view the details of the import process.
- To view the location of the exported files, click Open Output Folder...
- Click Finish.

Use Pre-process to clean and endorse images as necessary.
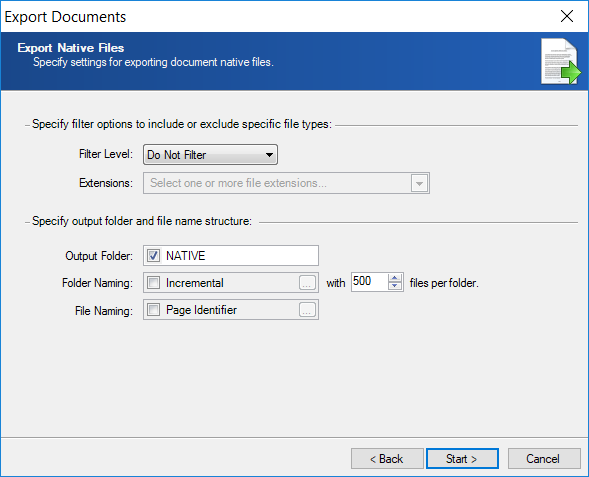
Filter Level enables you to define which kinds of native files will be exported.
Note: If warnings exist, Warnings displays the number of instances. Click to view the Event Log for details to see if the documents need to be re-exported.
