Unitizing Single Page Documents

This BluePrint guides you through unitizing single page documents. This enables you to assign document boundries to group electronic documents into smaller, relevant units.
In order to unitize pages into documents with ReadySuite, the following guidelines apply:
- Single page TIF and/or JPEG files are required.
- Files are imported as images into ReadySuite without a load file.
- Every page is imported as its own document into ReadySuite. (Example, 30 single page TIF and/or JPEG files imported into ReadySuite result in 30 documents.)
- Neither multipage images, pre-exsiting document breaks, nor PDFs, are supported for this process.
When unitize single page documents with ReadySuite, you will:
- Import your root image folder into ReadySuite.
- Create a field (Document Break) in the Document Grid View.
- Use the new Document Break field as a document boundary to group documents in the order they are shown.
- Run the Unitize Single Page Documents script.
Note: We recommend you create a backup of the project before running the Unitize Single Page Documents script as the state of the project will not be recoverable after running the script.
A. Import your root image folder into ReadySuite
- In the ReadySuite ribbon, click External Data > Folder Data > Import Image Files and complete the Image Files wizard.
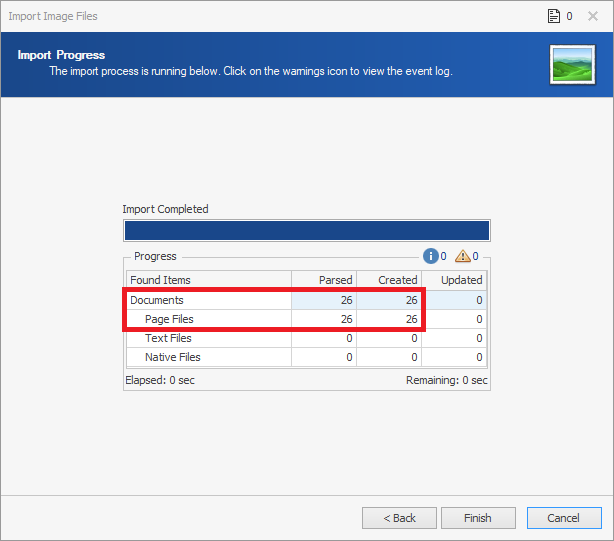
- On the Import Progress page, ensure that the number of Documents matches the number of Page Files.
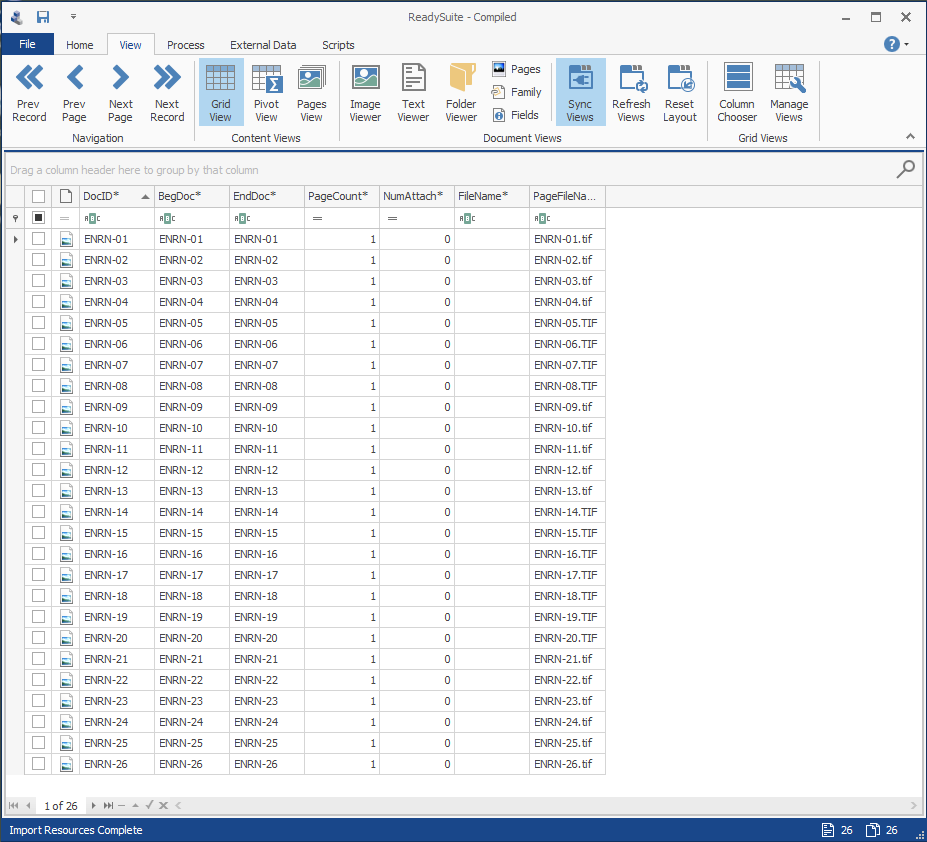
The imported image files are listed in the Document Grid View. Each document has a PageCount of 1.
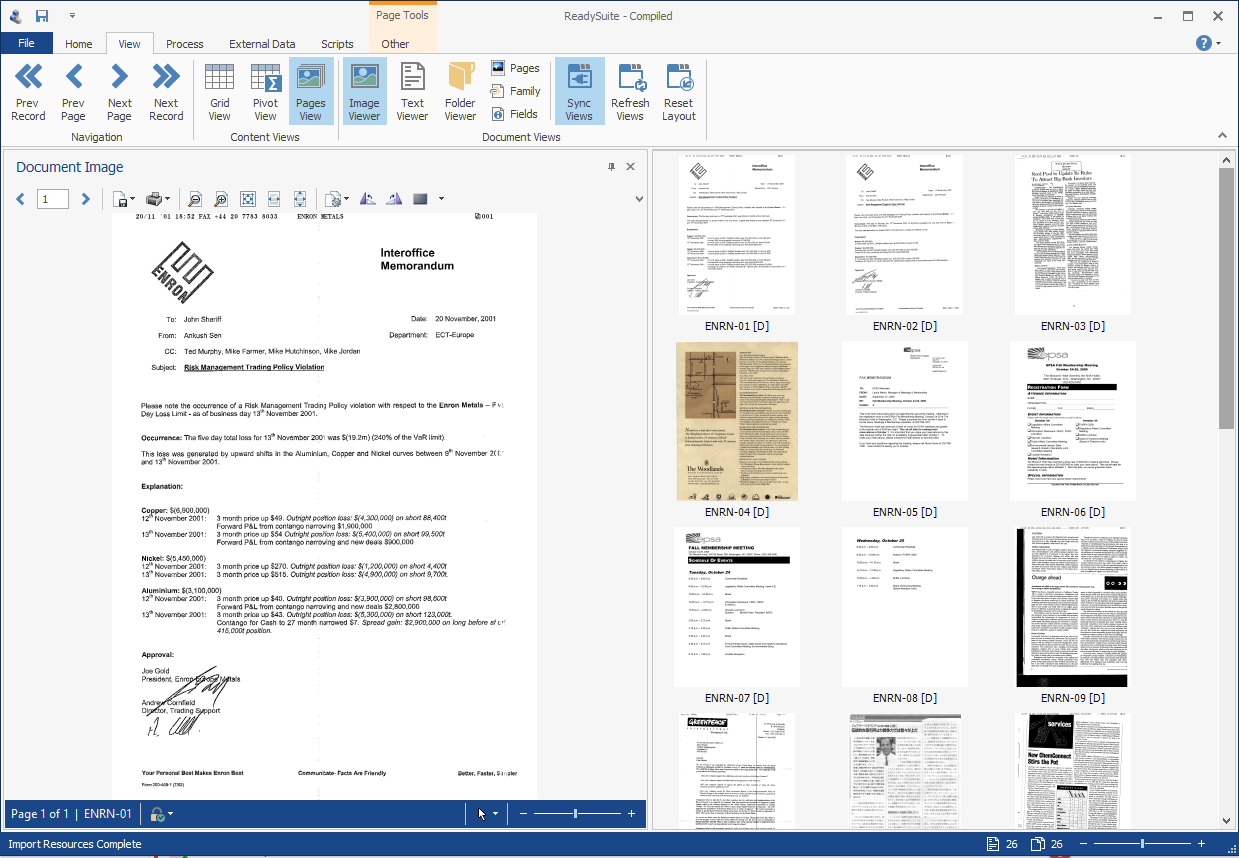
Each Document can be viewed in the Document Image panel (View > Image Viewer).

Alternatively, the Pages View (View > Pages View) conveniently enables you to view the files as labeled thumbnails (as well as change their size with the plus and minus icon in the footer.)

The Document Image panel can also be displayed alongside the Pages View.
B. Create a field (Document Break) in the Document Grid View
- On the ReadySuite ribbon, click Home > Field Setup.
- In the Field Setup dialog box menu, click Add Field.
- On the Add File dialog box, enter a Field name (example,
DocBreak). - In the Data type list, select
TextorBoolean. - Click Add Field.
- Close the Add File dialog box.
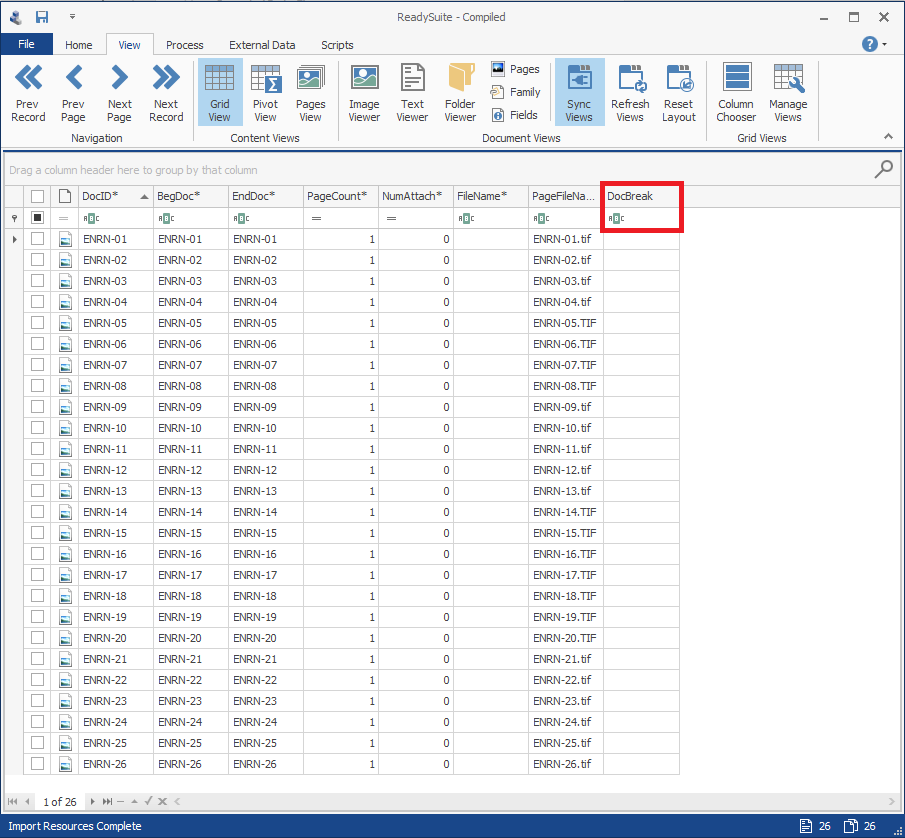
- View the new column on the Document View Grid.

C. Use the new Document Break field as a document boundary to group documents in the order they are shown
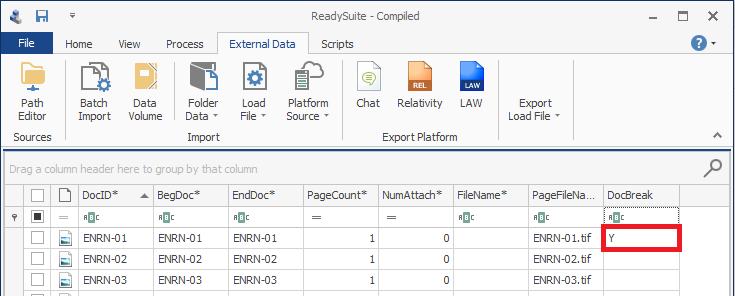
- Ensure that the documents on the Document Grid View are sorted correctly. (This might be by DocId, BegDoc number, or FileName.)
- Create a document break for the first item in the Document Grid View, by entering a value (such as
Y) in its DocBreak field. - Continue to scroll through the documents until you reach the start of a new document break, and enter a value in its DocBreak field.
- Continue this for all the documents in the Document Grid View, selecting the DocBreak field where you want to create a document break.
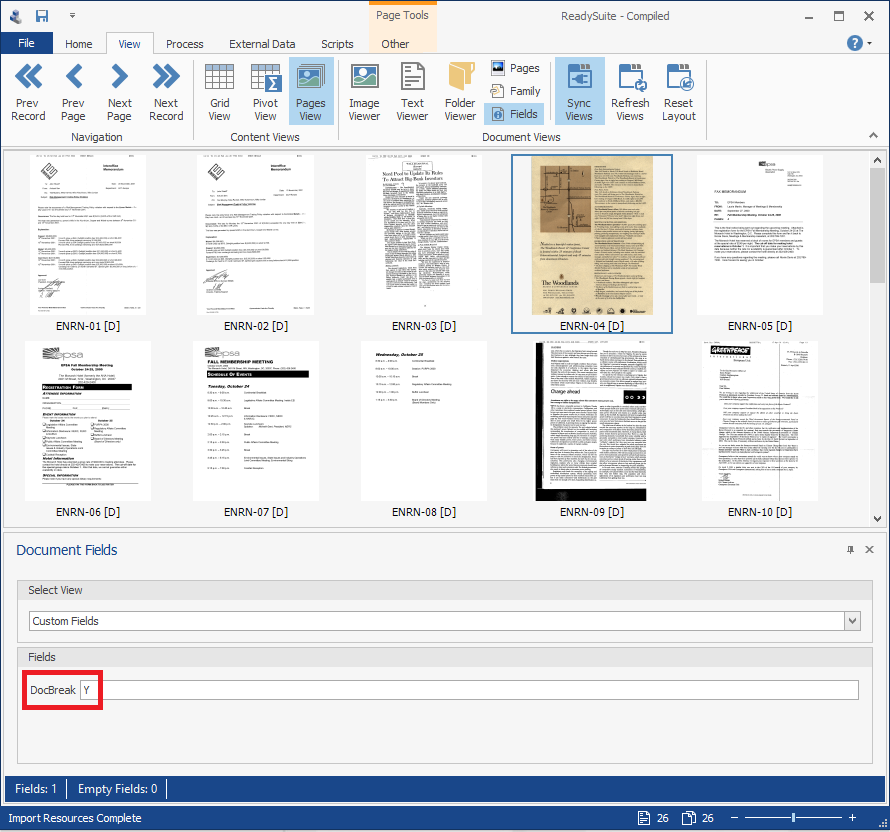
- Alternatively, you can create document breaks by opening the Pages View (View > Pages View) and Document Fields panel (View > Fields). On the Pages View, select the document where you want to start a new document break and the Document Fields pane, enter a
Yin the DocBreak.

Note: The first document in the Document Grid View must be identified as a document break.
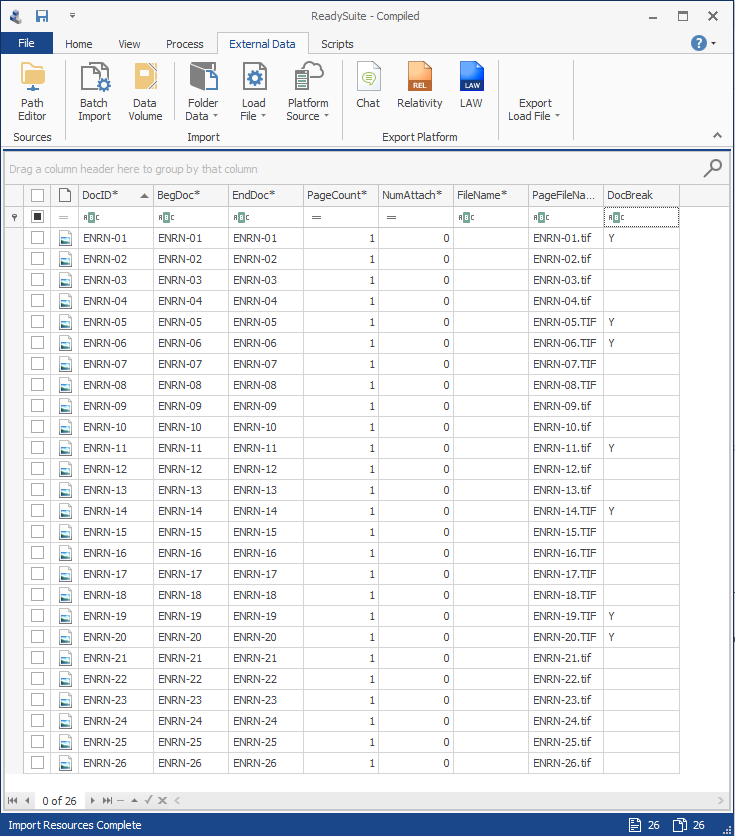
In the following example, the 26 documents in the Document View have been divided with seven document breaks.
1) DocIDs
ENRN-01toENRN-04will group into a single document of four pages.2) DocIDs
ENRN-05will remain a single document of one page.3 DocIDs
ENRN-06toENRN-10will group into a single document of five pages.4) DocIDs
ENRN-11toENRN-13will group into a single document of three pages.5) DocIDs
ENRN-14toENRN-18will group into a single document of five pages.6) DocIDs
ENRN-19will remain a single document of one page.7) DocIDs
ENRN-20toENRN-26will group into a single document of seven pages.
D. Run the Unitize Single Page Documents script
Note: Prior to running the unitization script, create a backup of the project
- In the ReadySuite ribbon, click the Scripts tab.
- In the Library section, click Page Tools > Unitize Single Page Document.
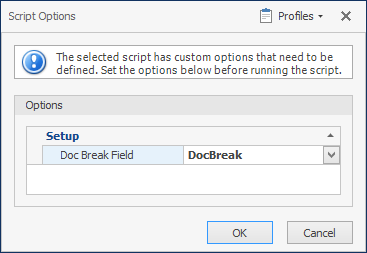
- On the Script Options dialog box, in the Setup section Select a Field... list, select
DocBreak. - Click OK.
- On the Unitize Single Page Documents dialog box, click Start Script.
- View the unitized documents on the Document Grid View.
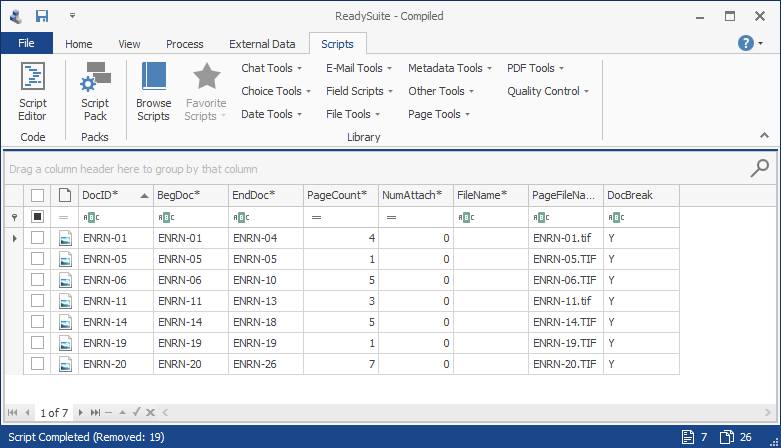
With the documents unitized, they can be further adjusted using other ReadySuite processing features, such as renumbering or exporting to PDF.