Image Files
Image files can be imported into ReadySuite with the Import Image Files wizard.
To import images
- In the ReadySuite ribbon, click External Data > Folder Data > Import Image Files to open the Import Image Files wizard.
- On the Import Settings page, enter or select the Data Path for the import.
- Select the Overwrite Mode to indicate how image files are created and/or uploaded:
- Create Only: Only allows image files to be uploaded to the ReadySuite workspace.
- Overlay Only: Requires image files to match an existing image file in the ReadySuite workspace to be uploaded.
- Create/Overlay: Enables new image files and those matching an existing image file in the ReadySuite workspace to uploaded.
- Select any advanced import settings you want applied.
- Link Field: Select a field to enable overlaying. By default, the link field is set to DocID* which matches the DocID* column on the Document Grid View. Most useful after an import (merging load files together). The DocID* field always has a value populated in ReadySuite.
- Extension Filters: Select the types of images you want to import.
- Inline Text: If you are importing image files with your load file and you also want ReadySuite to find any inline text files (text filename matching image filename), enable this option.
- Allow Merge: Select to allow images with duplicate IDs to be combined. When cleared, duplicate file names can be imported (recommended).
- Click Next.
- On the Import Folders page, view the folder structure for the imported files and select the folders with the image files you want to import.
- Click Next.
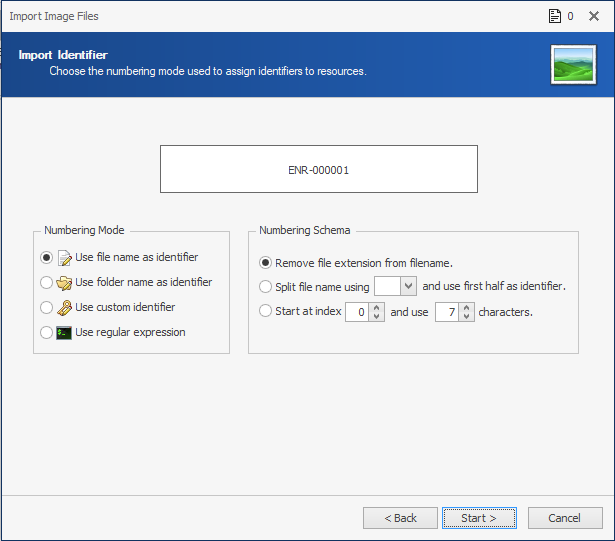
- On the Import Identifier page, choose the Numbering Mode and Numbering Schema to identify each imported document.
- Click Start.
- On the Import Progress page, view the details of the import process.
- Click Finish.


Note: If warnings exist, Warnings displays the number of instances. Click to view the Event Log for details.
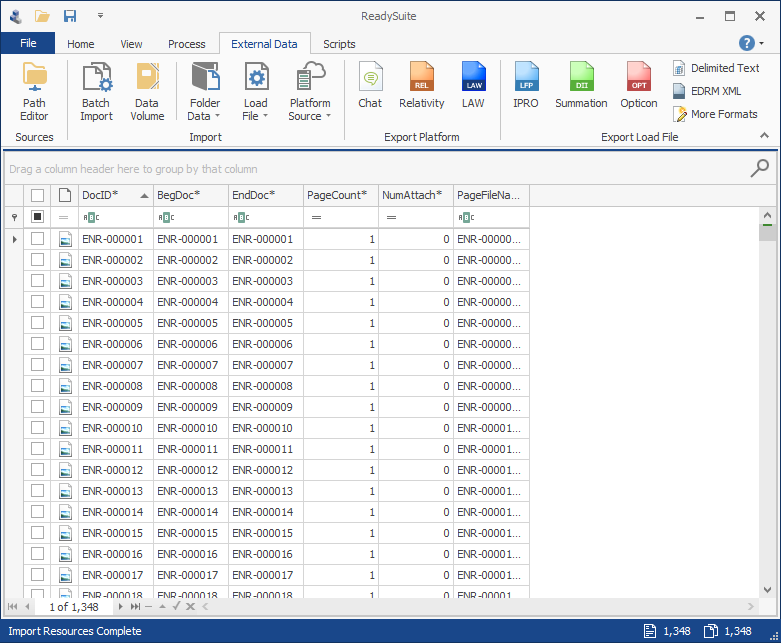
The imported image files are listed in the Document Grid View.
