Batch Editing
ReadySuite can edit DAT files. DAT files can be opened and displayed in ReadySuite and edited, with changes saved in the original file.
DAT files can be searched, filtered, edited (adding and removing records and columns, mass editing). Common uses may include modifying the native path or OCR path, adding a new field to the DAT file.
Batch editing enables you to edit the contents of multiple fields. It is similar to find and replace, but with additional features, such as the ability to select the set of fields you want to edit or update the values in choice and multit choice fields.
Best Practice
Before performing a batch edit, filter your grid for blank fields. For more information, see Filtering.
To edit documents as a batch
- Do one of the following:
- Click Home > Batch Edit.
- Right-click the heading of column with the data you want to edit and select Batch Edit Column.
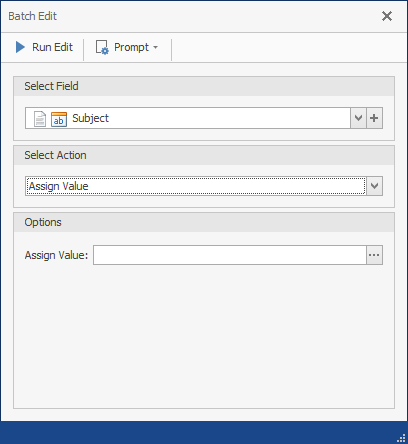
- On the Batch Edit dialog box, use Select Field to select the fields you want to update in the current ReadySuite project. (Preselected with the field name if opened with column shortcut menu).
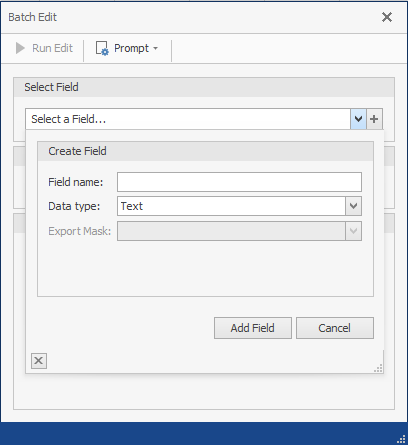
To create a new field, click the Action icon and in the Create Field dialog box, enter the Field name and Data type of the new field, select an Export Mask (if desired), and click Add Field.
 - Use Select Action to choose from the following edit you want applied to the contents of the Select Field in the current ReadySuite project:
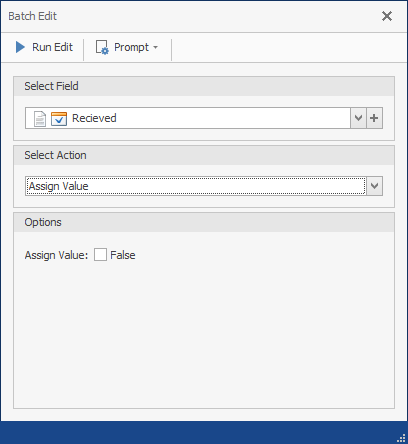
- Enter or select the Assign Value with the text to appear in the Select Field.
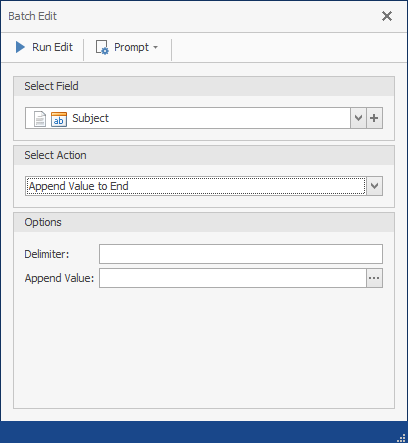
- Enter the Delimiter, such as a comma, tab, or colon. (If empty, no delimiter is added).
- Enter the Append Value with the text you added to the end of current content of the Select Field.
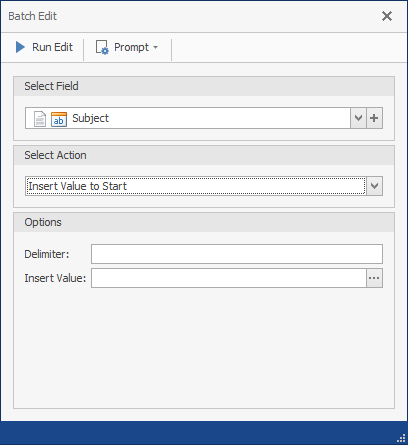
- Enter the Delimiter, such as a comma, tab, or colon. (If empty, no delimiter is added).
- Enter the Append Value with the text you added to the front of current content of the Select Field.
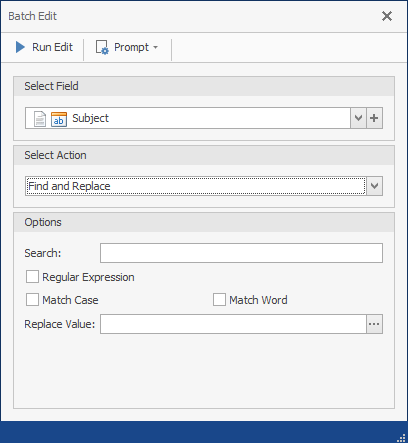
- Enter the field you want to Search.
- Choose from the following search methods:
- Regular Expression: Search project for particular character strings using pattern matching.
- Match Case: Fields in project must match the case of the Search contents.
- Match Word: Fields in project must match the entire word of the Search contents.
- Enter the Replace Value to want to use to update the Search field.
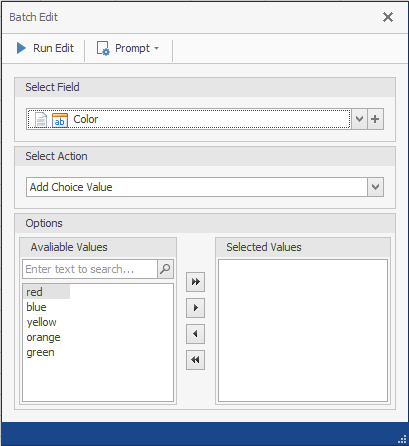
- Select from the Available Values the Selected Values you want to add as the multi choice values for the Select Field
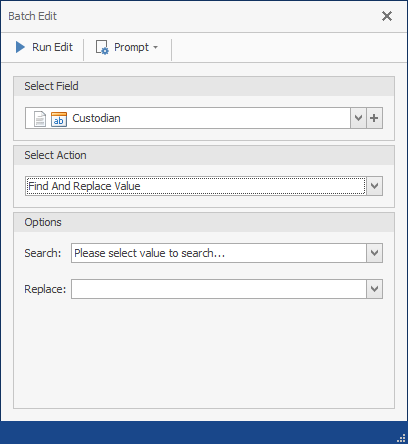
- Select the value you want to Search.
- Select the Value to want to update the Search value in the Search Field.
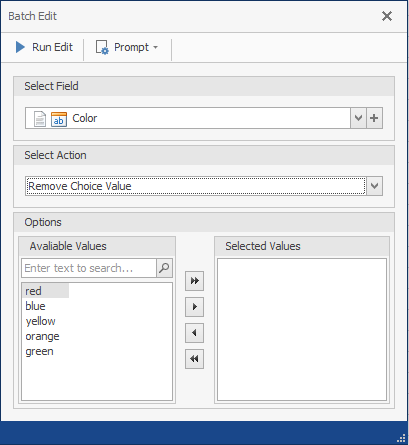
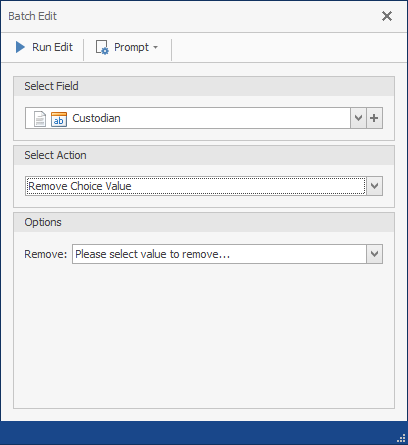
- Select the choice values you want to Remove from the Select Field.
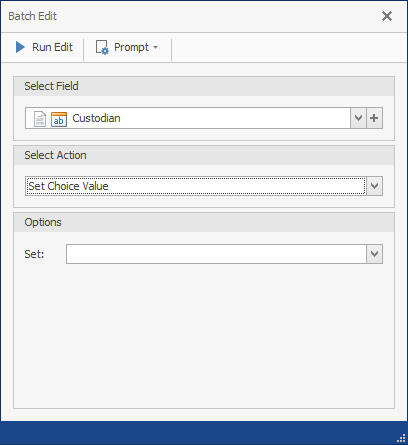
- Select with Set the choice value for the Select Field.
- Click Prompt and select the from the Queue section the fields you want to edit:
- All: All Select Fields in the entire project
- Filtered: All Select Fields in the resulting from the current filter in use.
- Marked: All marked and Select Fields.
- Selected: All fields selected (highlighted) in the Document Grid View.
- Prompt: Opens the Select Data Source dialog box when click Run Edit.
- In the Options section, select from the following:
- Include Families: Applies the updates to the document’s family members.
- Delay Filter Updates: Retains the documents as currently displayed in the Document Grid View until either the filter is modified, updated, removed, or the data is refreshed (Home > Refresh Data).
- Click Run Edit.

Note: The actions available in the Select Actions section are determined by the file type of the Select Field.
Batch Editing Data fields (Text, Boolean, and Date)
| When you select... | In the Options section... | Available for field type | |
|---|---|---|---|
| Assign Value |
Note: If present, the Action drop list |
Text Boolean Date |
Text
Boolean |
| Append Value to End |
|
Text Date |
|
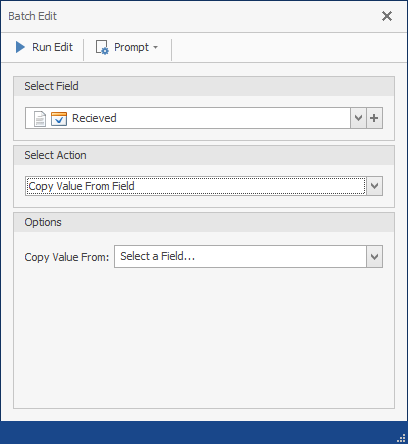
| Copy Value From Field
Note: Values can be copied from different field types (example: copy from a text field to a number field. |
Select a field to Copy Value From. | Boolean |
|
| Insert Value at Start |
|
Text Date |
|
| Find and Replace |
|
Text Date |
|
|
Remove Value |
No additional options are needed to clear the Search Field contents in the project.
|
Text Boolean Date |
|
Choice and Multi choice fields
| When you select... | In the Options section... | Available for | |
|---|---|---|---|
| Add Choice Value |
|
Multi choice |
|
| Find And Replace Value |
|
Choice |
|
| Remove Choice Value |
|
Choice Multi choice |
Choice
Multi Choice |
| Set Choice Value |
|
Choice |
|
 to open the Select Field list to select values. (More than one value can be selected.)